Zelda Enemies: Tips for Every Battle
Zelda Enemies: Tips for Every Battle | SteelSeries

Struggling against Bokoblins, Lynels, or Gleeoks? Our Zelda enemies guide breaks down tips, weaknesses, and strategies to help you win every battle.
Whether you're soaring through the skies in Tears of the Kingdom or exploring the vast wilds of Breath of the Wild, one thing is certain: Hyrule is filled with dangerous enemies. From classic Bokoblins to terrifying Lynels and new monstrosities like Gleeoks, each battle requires more than just brute force—you need strategy.
This guide breaks down some of the toughest and most iconic enemies from both Tears of the Kingdom and Breath of the Wild, offering detailed combat tips tailored to your skill level, plus a few pro tricks to dominate every encounter.
Tears of the Kingdom
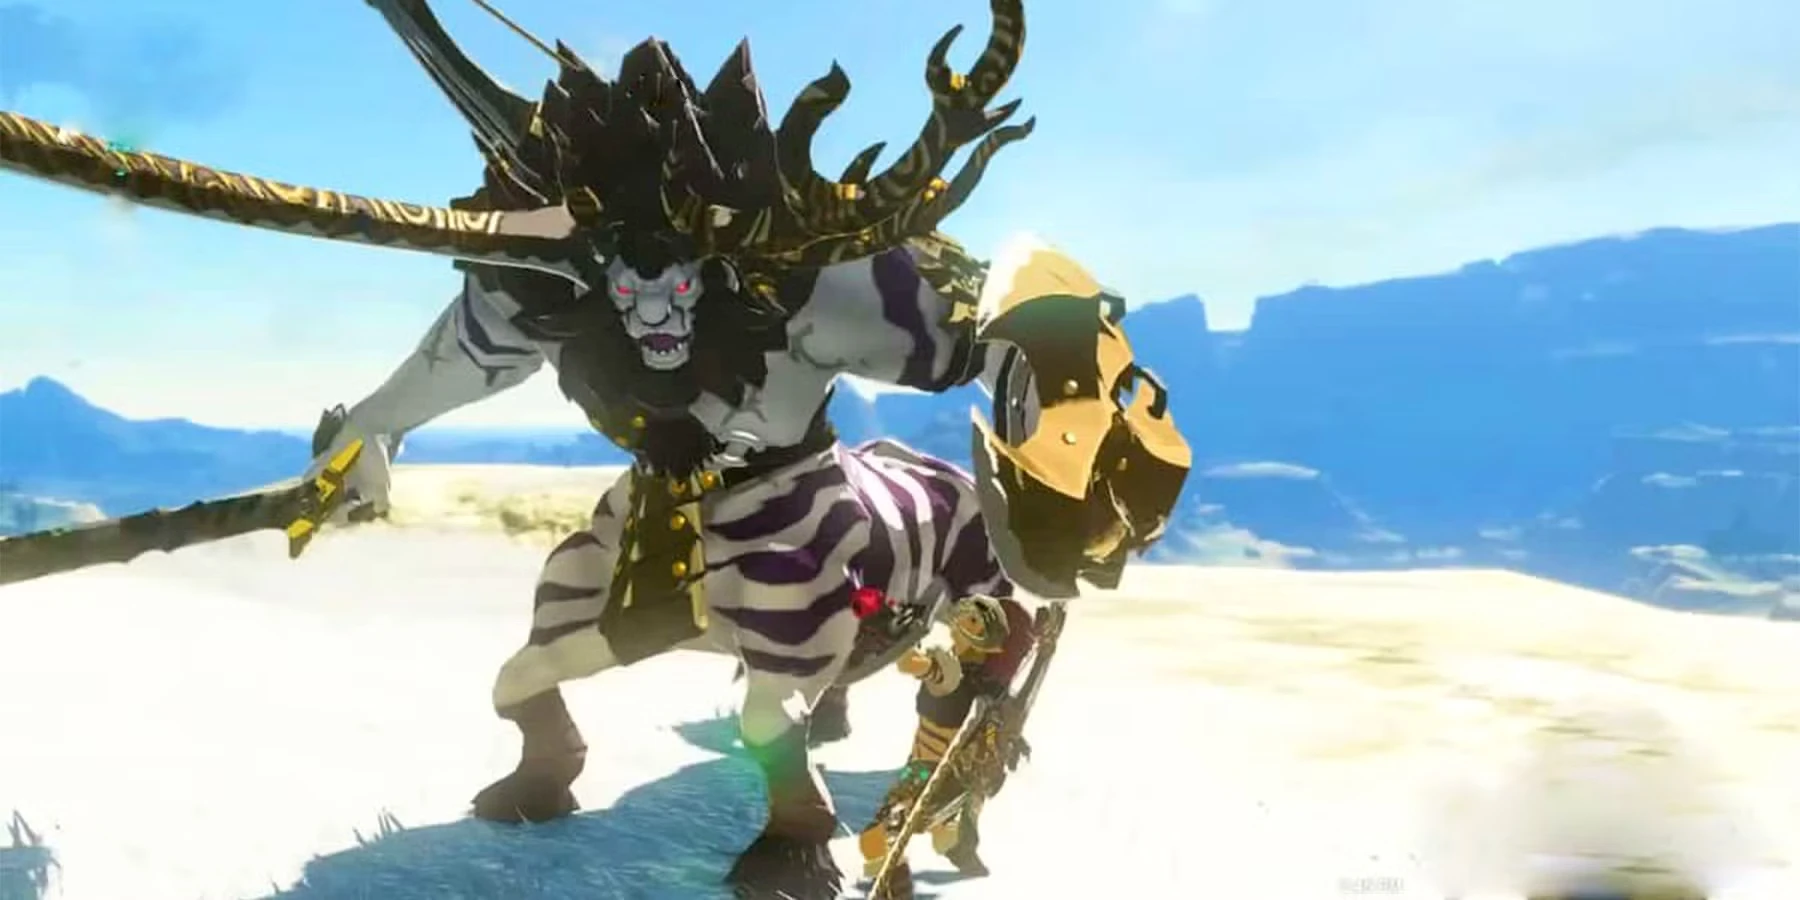
Lynel
Found in: Depths, Coliseums, Hyrule Highlands
Variants: Red, Blue, White-Maned, Silver
Special Abilities: Fireballs, charge attacks, powerful melee combos
Tips for Battle
Beginner: Equip high-defense armor and bring plenty of cooked meals or fairies. Use arrows to stun from a distance.
Advanced: Learn Lynel attack patterns to perfect-dodge and trigger flurry rushes. Use elemental arrows (ice to freeze, shock to disarm).
Expert: Mount after stun, then immediately charge a powerful attack with a fused high-damage weapon. Parry the fireball to reflect it back.
Pro Move
Parry the fireball, then perfect-dodge the follow-up charge. This sets up a flurry rush and gives you a huge opening for burst damage.
Bonus: Use a Zonai rocket shield to quickly close distance after a stun for mounted damage.
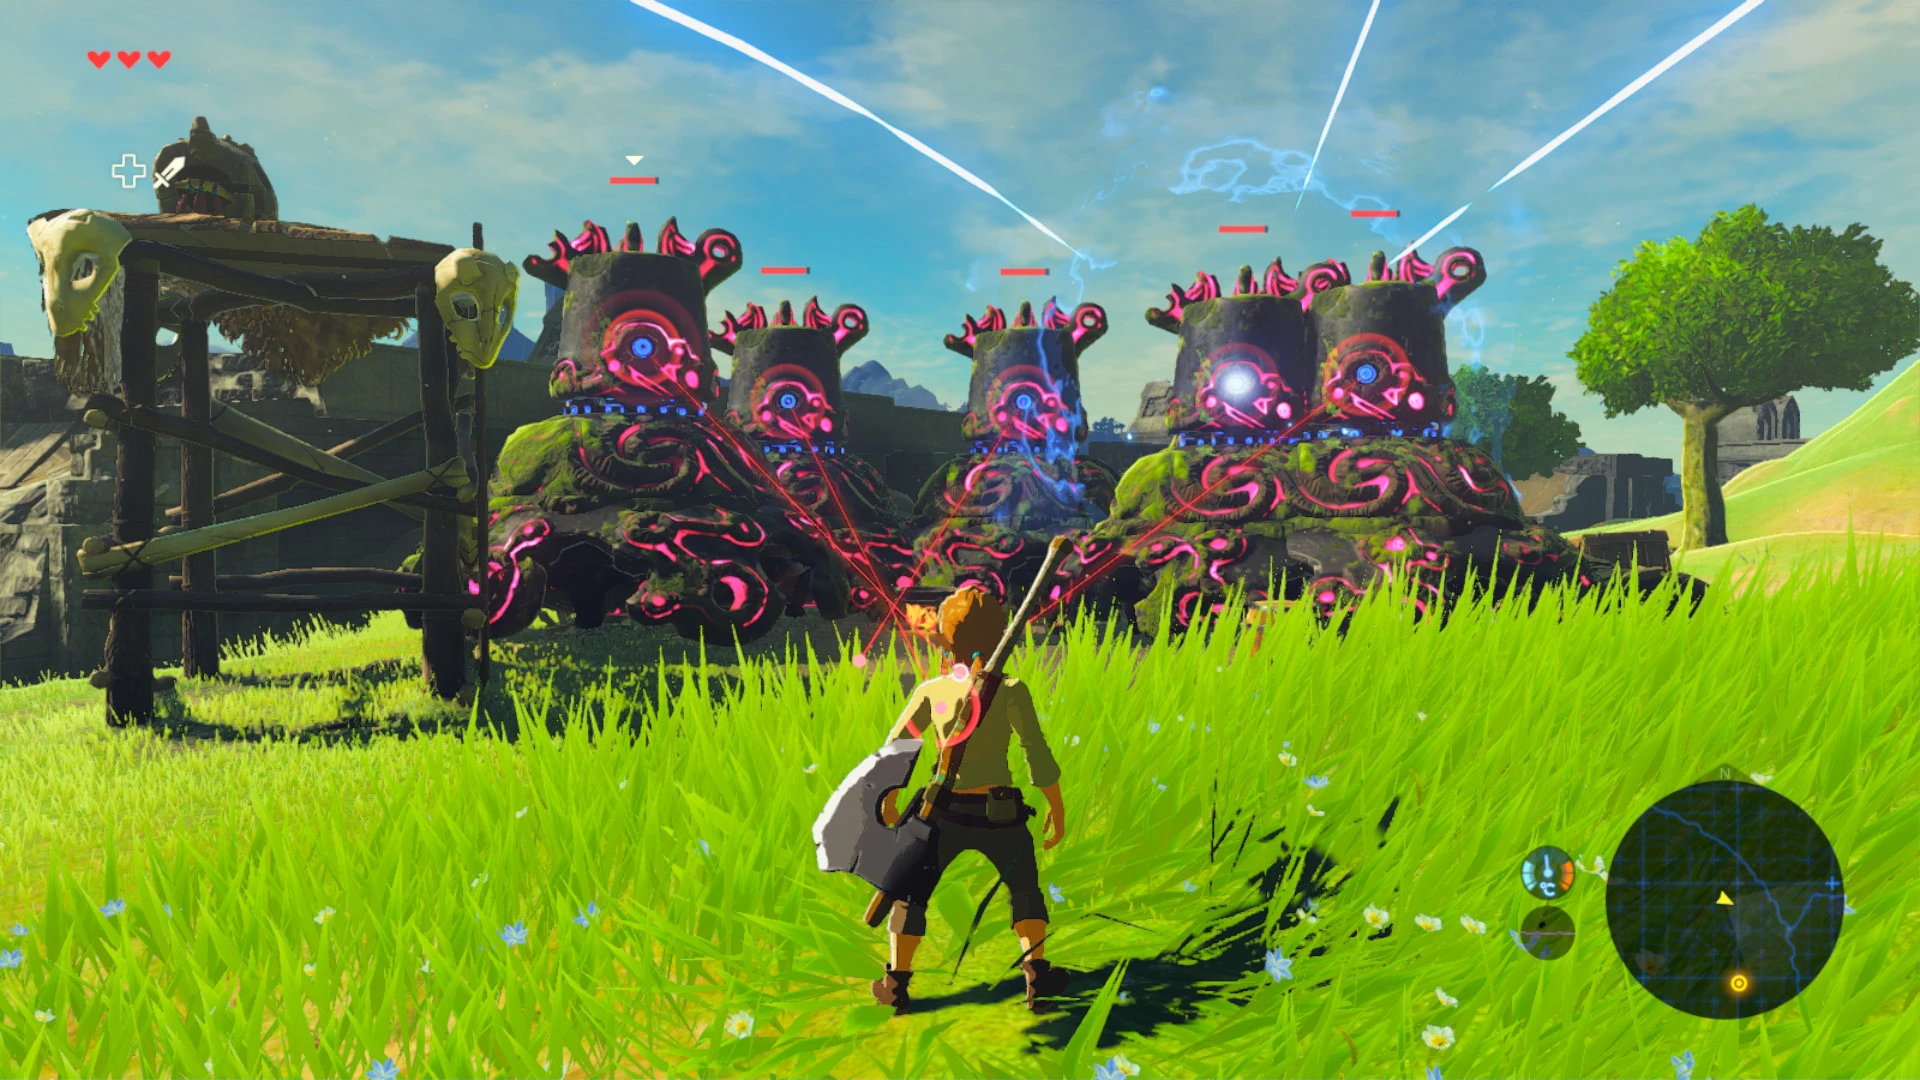
Gleeok
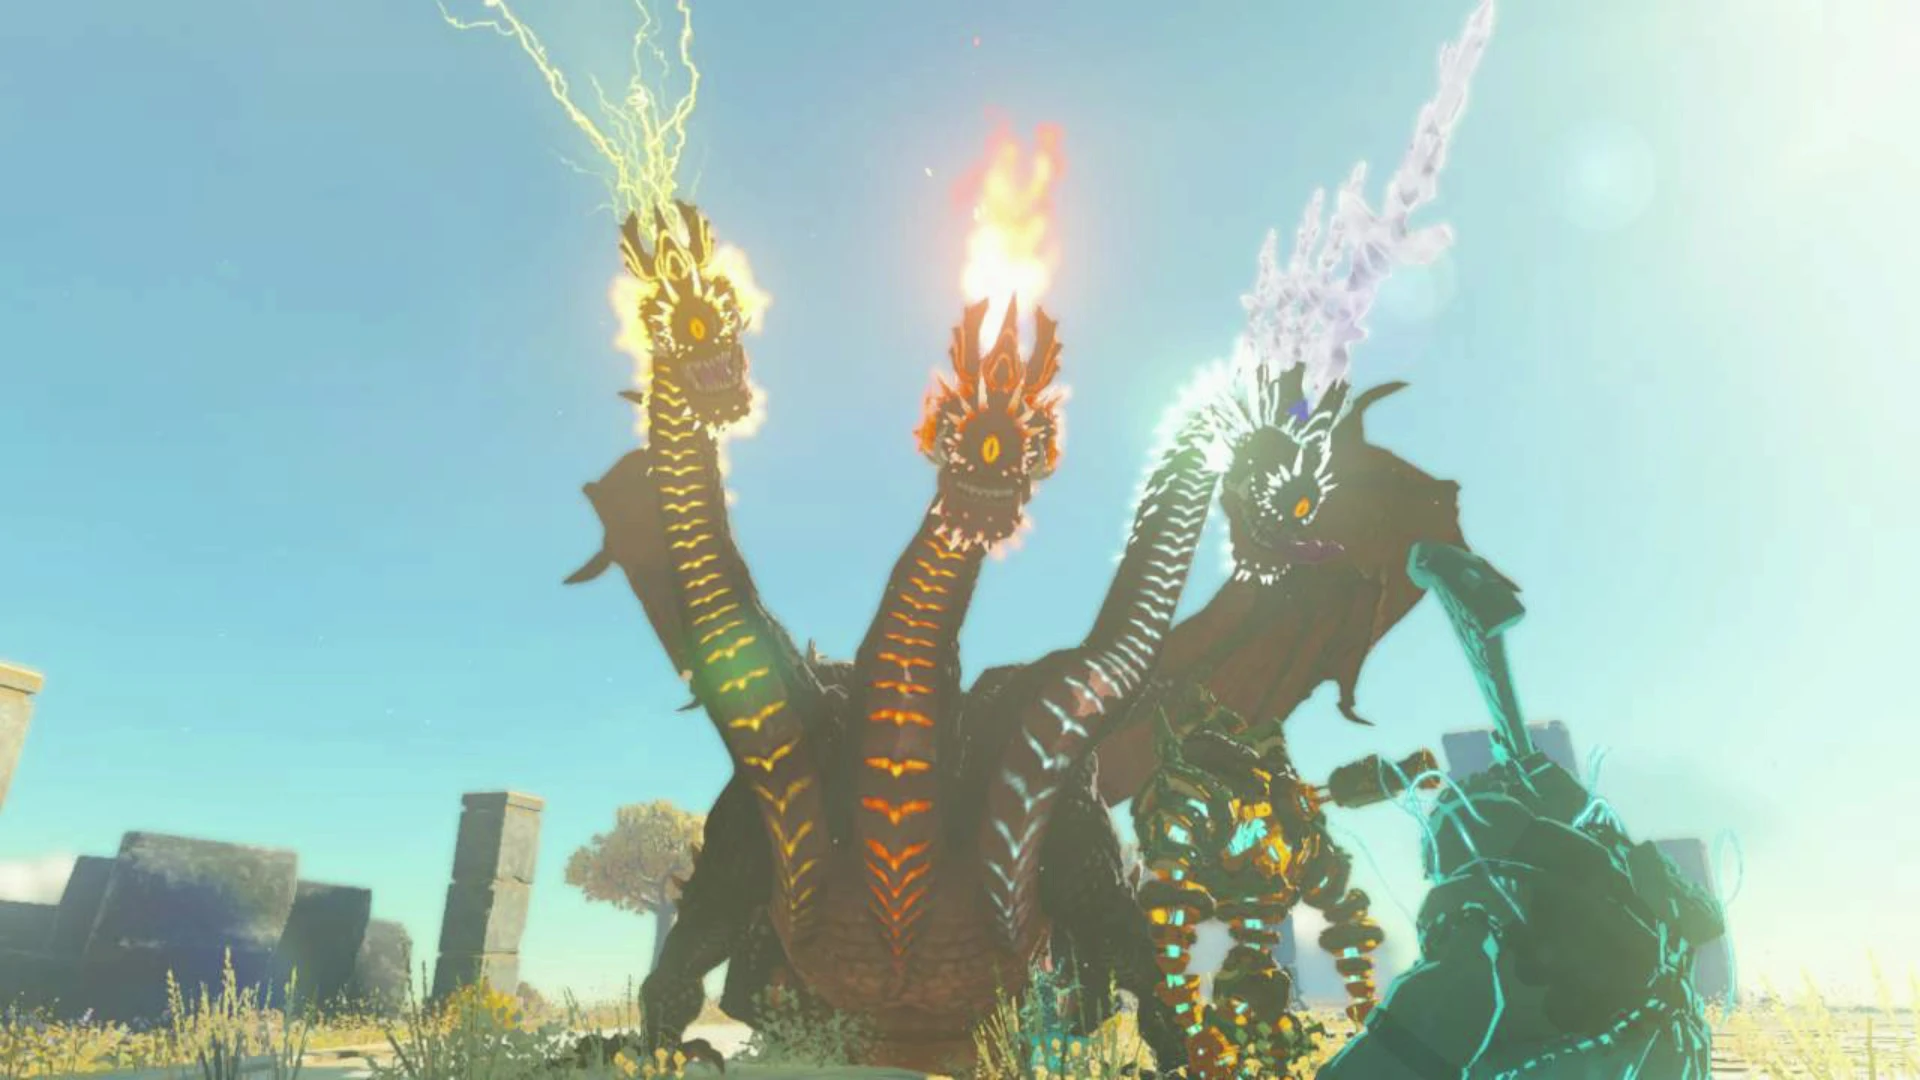
Found in: Sky Islands and Depths
Types: Flame, Thunder, Frost
Special Abilities: Multi-elemental beams, aerial flight
Tips for Battle
Beginner: Use elemental-resistance gear and stock up on arrows. Aim for the heads to stagger them.
Advanced: Build a vertical platform with Zonai fans to reach its altitude and shoot more accurately. Use slow-motion midair aiming for precision.
Expert: Time your attacks so you hit all three heads in a single midair slow-mo session, forcing the Gleeok to crash for massive free hits.
Pro Move
Use a Spring Zonai device to jump and trigger slow-mo arrow time. Hit all three heads with fused Gibdo Bones for critical damage, then rush in with a buffed melee weapon.
Bokoblin Horde

Found in: Caves, camps, ruins
Special Abilities: Boss Bokoblin can command and buff nearby minions
Tips for Battle
Beginner: Focus on the minions first or use AoE attacks (like bomb flowers) to weaken the group.
Advanced: Use a Puffshroom or Muddle Bud arrow to cause infighting. Aim to disorient or confuse the Boss Bokoblin.
Expert: Set an explosive trap (fuse bombs to shields or weapons) near a chokepoint, then lure the horde into it with movement baiting.
Pro Move
Shoot a Muddle Bud at a high-health Moblin in the crowd to turn it against the Boss Bokoblin, then flank with a flame emitter shield.
Flux Construct

Found in: Sky Islands (and Depths variants)
Forms: Flux Construct I, II, III
Special Abilities: Shapeshifts into flying platforms, fists, and walls; can launch blocks at you
Tips for Battle
Beginner: Look for the glowing cube—this is its weak point. Use arrows or climb to reach it.
Advanced: When it launches blocks, grab one with Ultrahand and toss it back for a stun. Use Ascend when it floats to surprise it from below.
Expert: Fuse a high-damage weapon (like Silver Lynel parts) and burst the weak point during its transition animations when it’s vulnerable.
Pro Move
Use Recall on a launched block to send it flying back and stagger the construct instantly—then rush the glowing core with a fused two-hander.
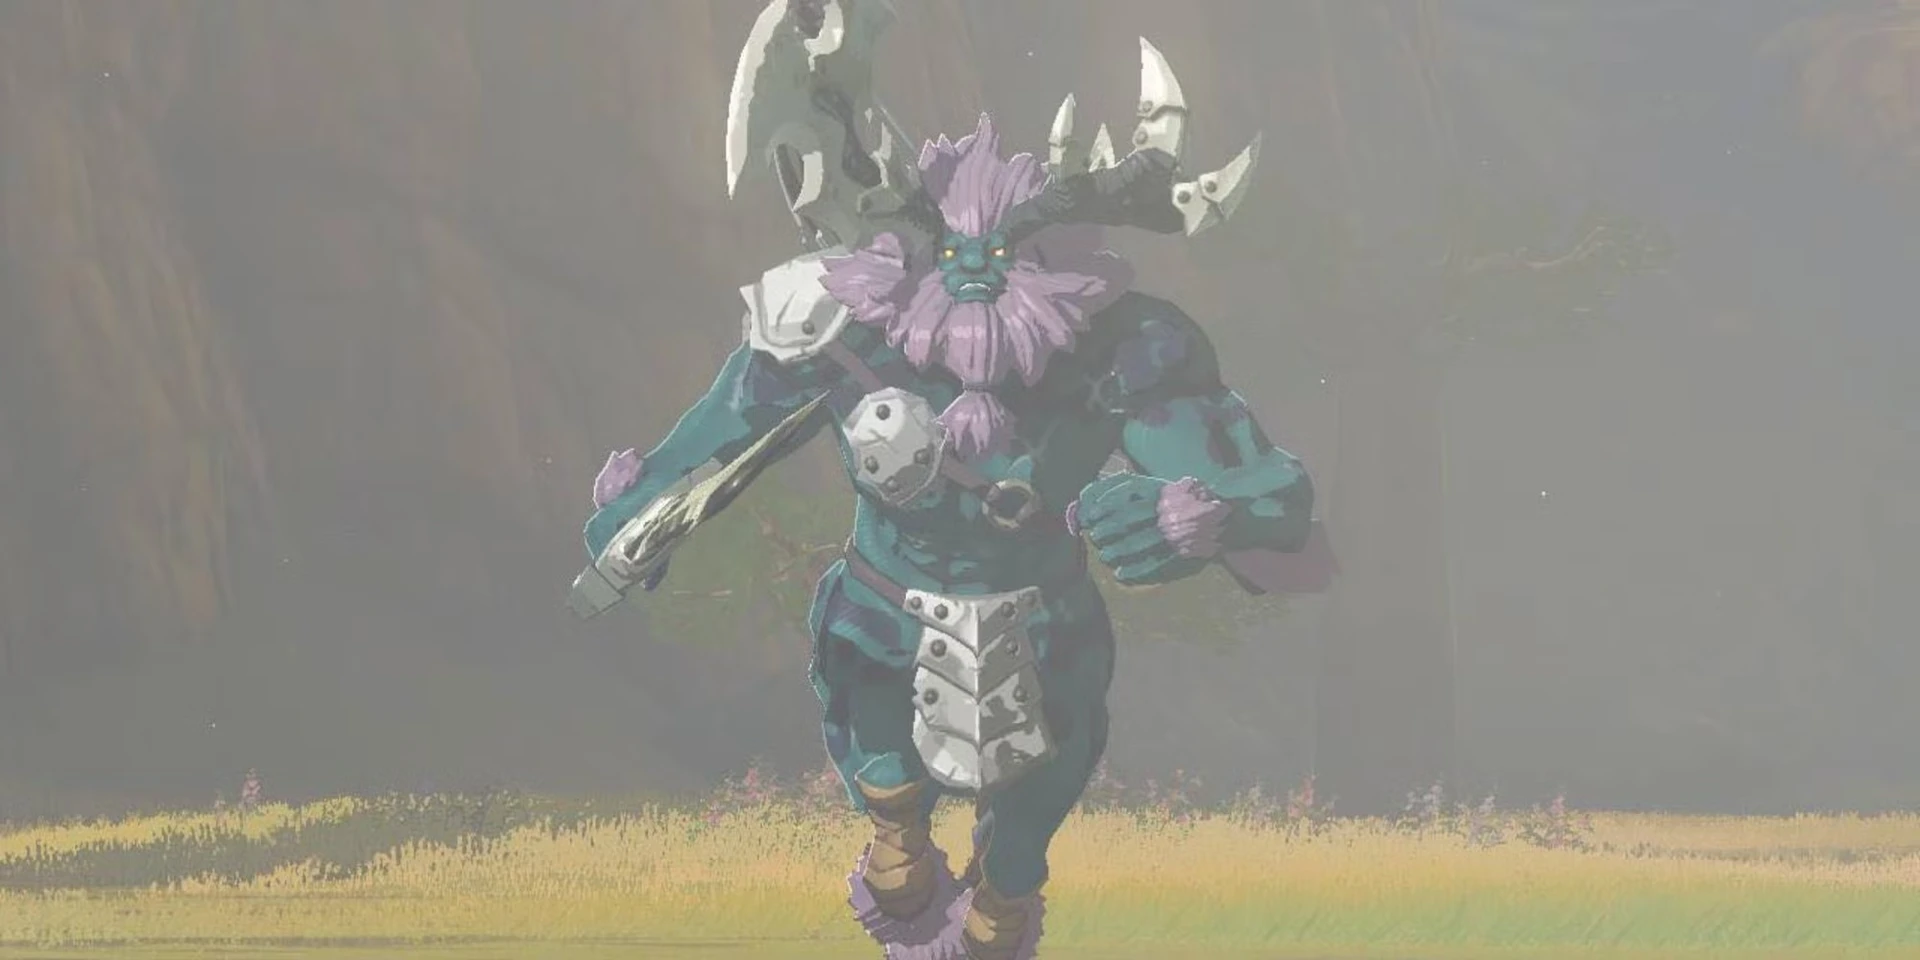
Hinox
Found in: Forests, Fields, Depths
Types: Red, Blue, Black, Stalnox (skeleton variant)
Special Abilities: Powerful slams, throws trees or weapons, protects the eye
Tips for Battle
Beginner: Aim for the eye with arrows to stagger. Avoid frontal attacks—circle around.
Advanced: Use stealth to steal weapons off its neck before the fight begins.
Expert: Firebomb the environment before engaging—set traps or use environmental hazards to weaken it.
Pro Move
Sneak up, steal its weapons, then immediately hit its eye with a Keese Eyeball-fused arrow for homing stagger—this gives you a clean loop of knockdowns.
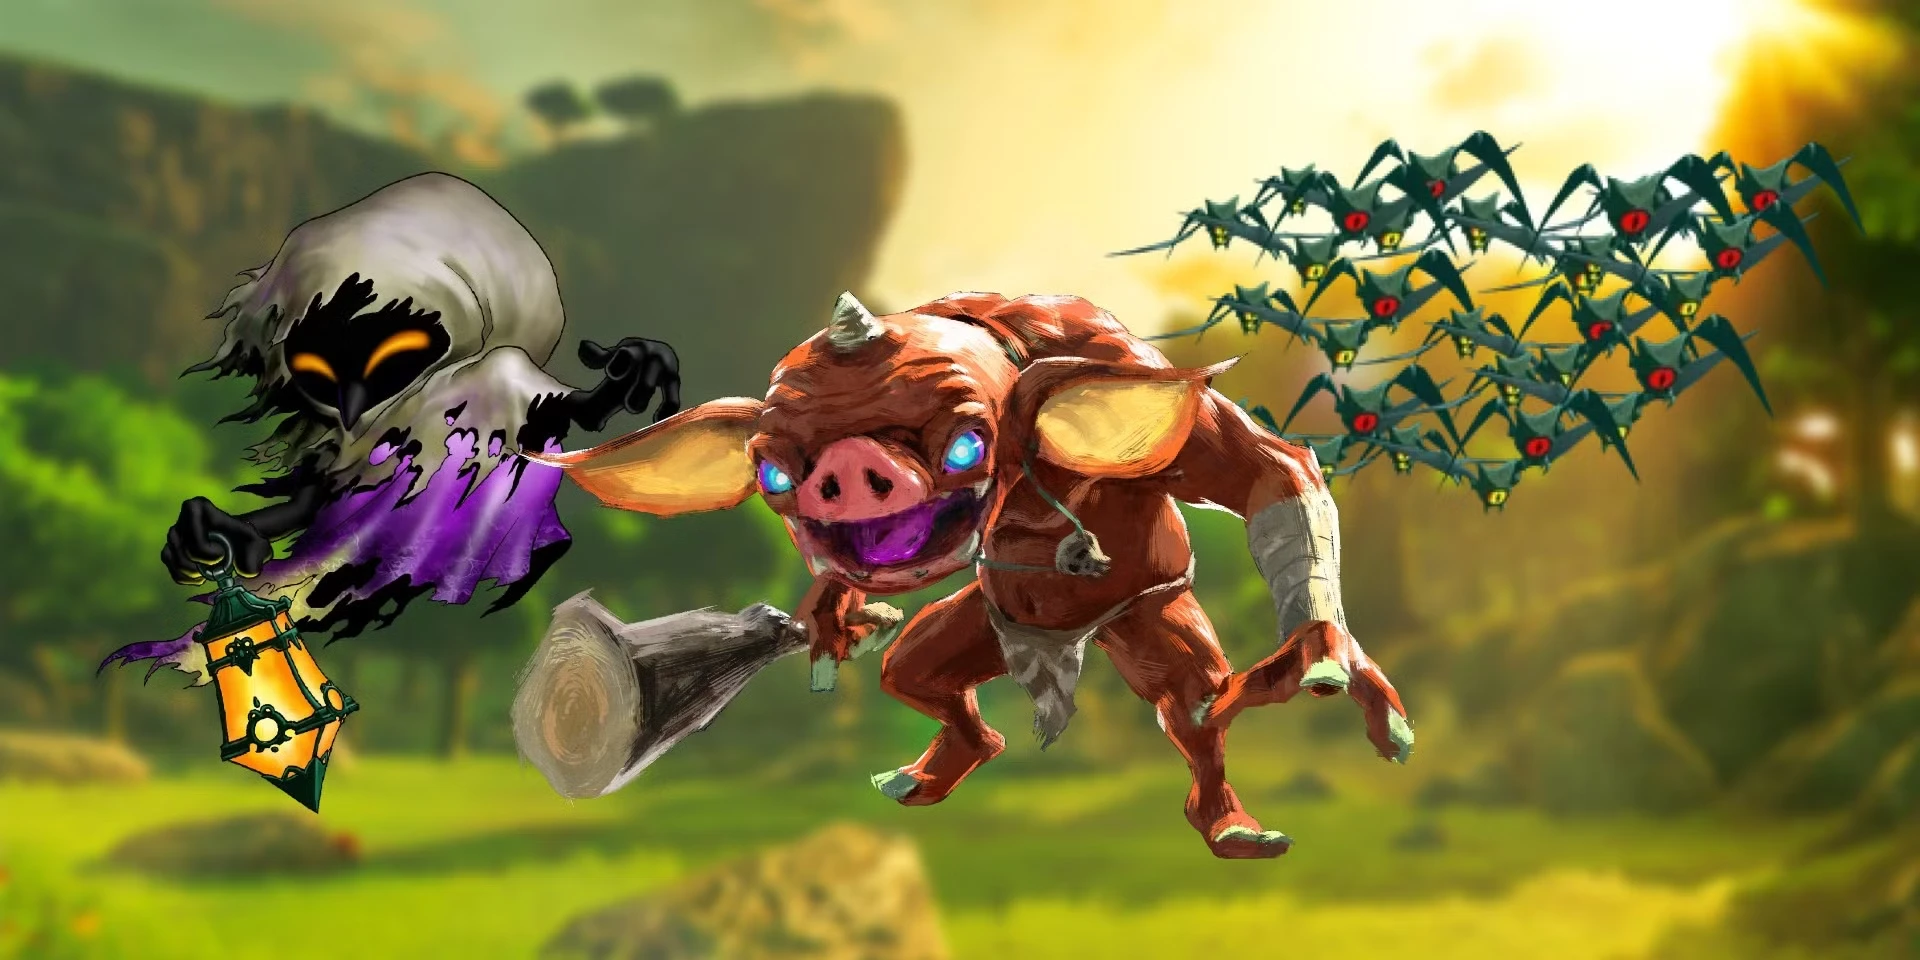
Gibdo Swarm

Found in: Desert and Lightning Temple
Special Abilities: Immune to physical damage until exposed to elemental attacks (fire, shock, light)
Tips for Battle
Beginner: Use elemental arrows or Zonai emitters to weaken them before attacking with melee.
Advanced: Equip Riju’s lightning ability and time her AoE to debuff large groups at once.
Expert: Drop a Lightfruit arrow in the middle of a swarm at night or in darkness to weaken and stun them all at once.
Pro Move
Use Riju’s charged lightning + Shock Fruit arrow to electrify a horde, then chain-kill them with a high-durability two-handed weapon fused with a Molduga jaw.
Gloom Hands / Phantom Ganon

Location: Found in dark, Gloom-infested areas; often a precursor to Phantom Ganon battles.
Abilities: Aggressive swarm attack; inflicts Gloom damage on contact; regenerates over time if not quickly defeated.
Tips for Battle
Beginner: Keep your distance and use elevated terrain to avoid being overwhelmed. Arrows and elemental attacks can thin the group.
Advanced: Toss Bomb Flowers or elemental chuchu jelly to deal area damage and stun multiple hands at once.
Expert: Equip Gloom-resistant gear or food buffs before engaging. Target the center of the swarm to maximize splash damage. Use Yunobo’s charge or a powerful Zonai weapon to break their regeneration loop.
Pro Move
Defeat Gloom Hands quickly and prepare immediately—Phantom Ganon often spawns seconds later in the same spot.
Breath of the Wild (Exclusive Enemies)
Red Lynel

Location: Found in lower-difficulty regions like the Owa Daim Shrine plateau or around Lanayru.
Abilities: Base Lynel variant. Uses melee swipes, fire breath, and charges. Very aggressive.
Tips for Battle
Beginner: Use arrows to bait attacks from a distance. Dodge and use Flurry Rush to deal damage safely. Avoid close quarters until you’ve upgraded armor.
Advanced: Mounting is key. After a stun or flurry rush, jump on its back to get in several hits without retaliation.
Expert: Perfect parry its fireballs and use stasis to reposition. Using a high-damage weapon + food buffs can finish it quickly.
Pro Move
Time a headshot right after it starts charging—this stuns it long enough to run in, mount, and start the combo cycle early.
Blue Lynel
Location: Mid-game zones like Akkala Highlands or Hyrule Ridge.
Abilities: More health and higher damage than red. Uses electric arrows occasionally.
Tips for Battle
Beginner: Use terrain to your advantage—stand on high ledges or trees to reset aggro and create sniper angles.
Advanced: Keep up the pressure with elemental arrows. Ice slows them down; fire creates opening windows.
Expert: Use shield parries and perfectly-timed dodges. Equip upgraded armor and cook triple-defense meals to mitigate chip damage.
Pro Move
Chain Urbosa’s Fury → mount → Flurry Rush → midair arrow combo for massive burst damage.
White-Maned Lynel
Location: Tabantha Frontier, around the Coliseum Ruins, and other late-game areas.
Abilities: Fast, deals major damage, mixes elemental attacks, hard to stun.
Tips for Battle
Beginner: You’ll need fully upgraded armor and high hearts. Don’t approach until well-prepared.
Advanced: Use Stasis+ to open up arrow shots to the face, then close in for a mount or spin attack combo.
Expert: Equip the Barbarian set and attack-boost meals. Use shock arrows to interrupt its bow attacks and cancel charges.
Pro Move
Land a critical midair arrow shot (slow-motion via bullet time) right as it roars to skip its attack phase and immediately mount.
Silver Lynel

Location: Hebra Mountains, Deep Akkala, and Hyrule Castle outskirts (after significant game progression).
Abilities: Highest HP outside Gold Lynels, fast AI, mixes in fire, ice, and shock attacks.
Tips for Battle
Beginner: Consider skipping unless you have 3+ fairies, upgraded armor, and full food buffs.
Advanced: Use a Savage Lynel Bow to return fire midair. Keep your distance, dodge its rush, and punish.
Expert: Swap to elemental weapons to match its weakness. Stasis+ and Flurry Rush are your main tools—don’t get greedy with combos.
Pro Move
Equip Ancient Arrows if you’re just farming gear—one clean shot to the face will insta-kill it (though you won’t get a weapon drop).
Molduga
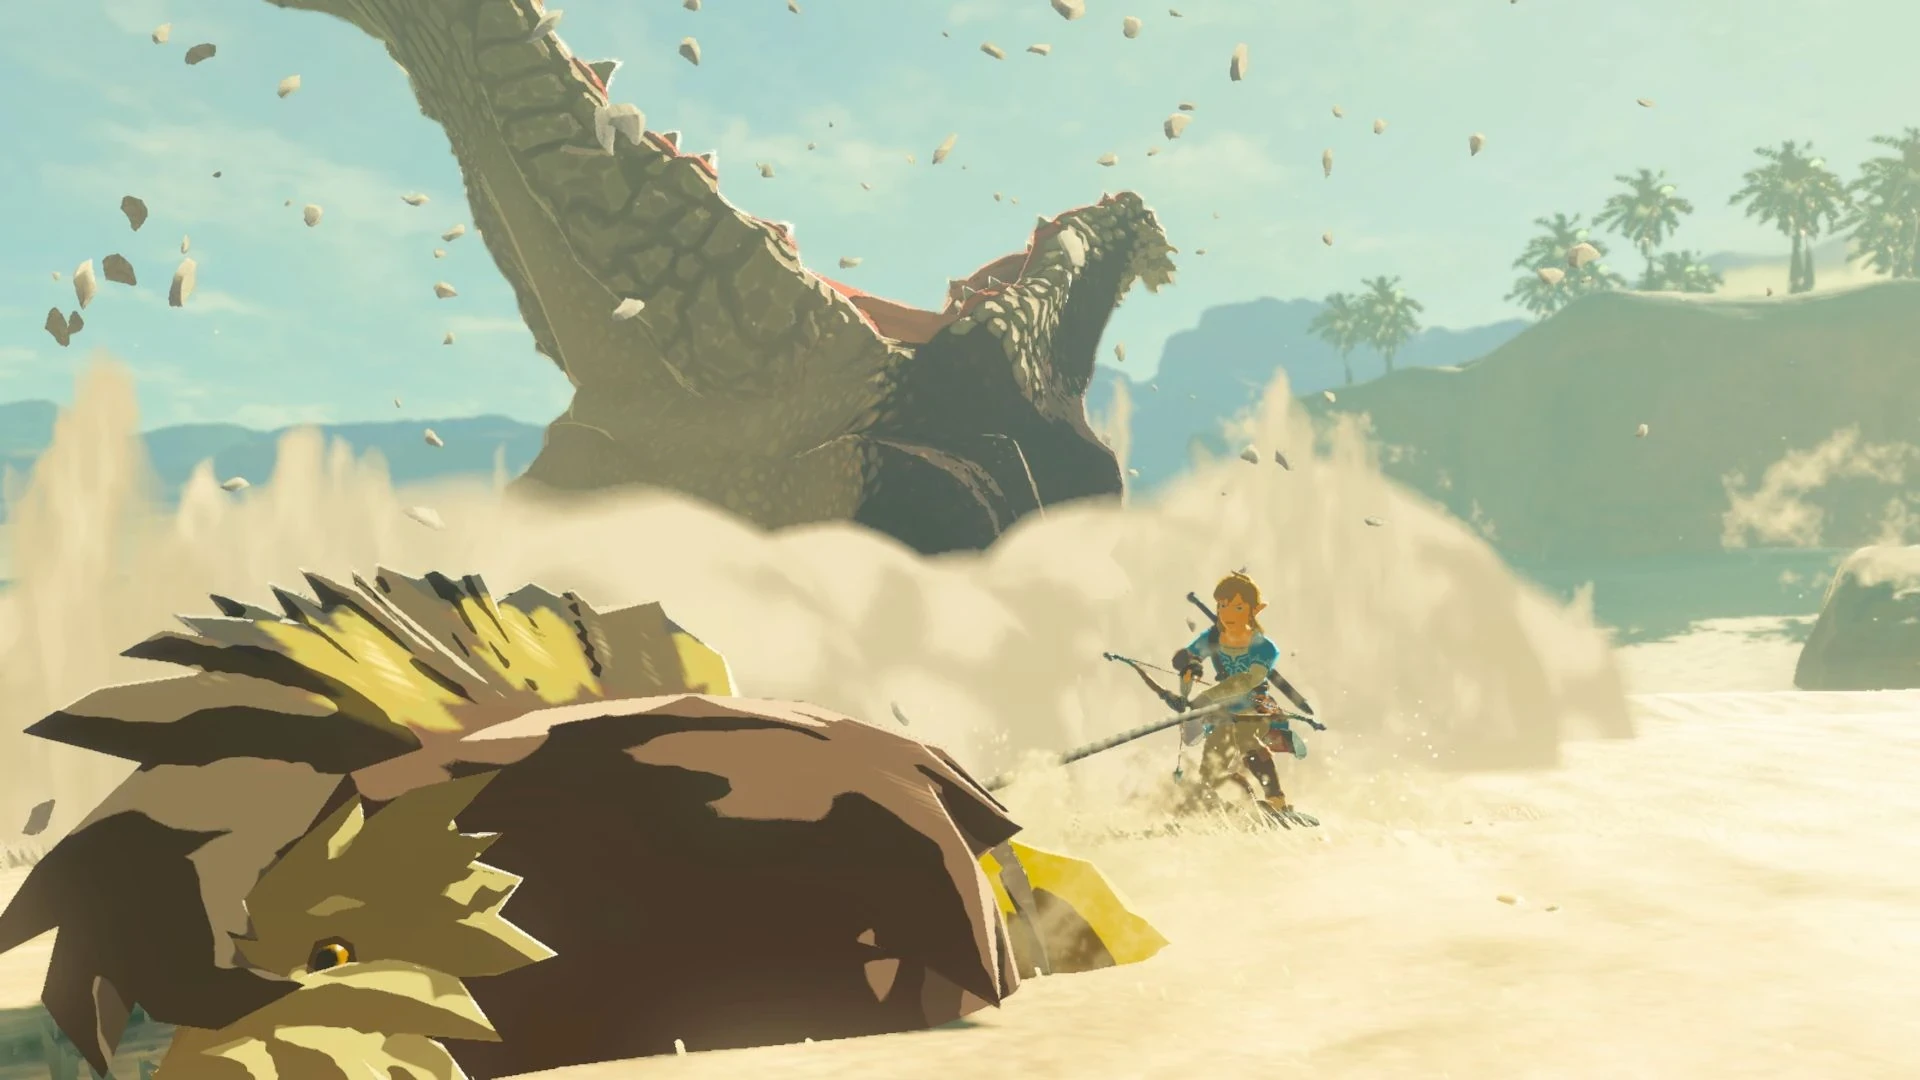
Location: Gerudo Desert (Toruma Dunes, Southern Oasis, Arbiter’s Grounds).
Abilities: Burrows underground and launches surprise attacks. Sensitive to sound. Massive HP pool and can OHKO if unprepared.
Tips for Battle
Beginner: Stay on raised platforms to avoid triggering its underground charge. Toss bombs to lure it out, then detonate when it surfaces.
Advanced: Use a Magnesis metal box or bomb arrows when it’s airborne. Be ready to sprint or dodge roll when it dives.
Expert: Chain bomb → arrow to stun → rush in for a two-handed weapon spin combo. If using Urbosa’s Fury, activate right as it surfaces for big burst damage.
Pro Move
Ride a sand seal, bait the Molduga out with a remote bomb, and toss it mid-air for a cinematic-style detonation and stun.
Wizzrobe (Fire, Ice, and Electric Variants)
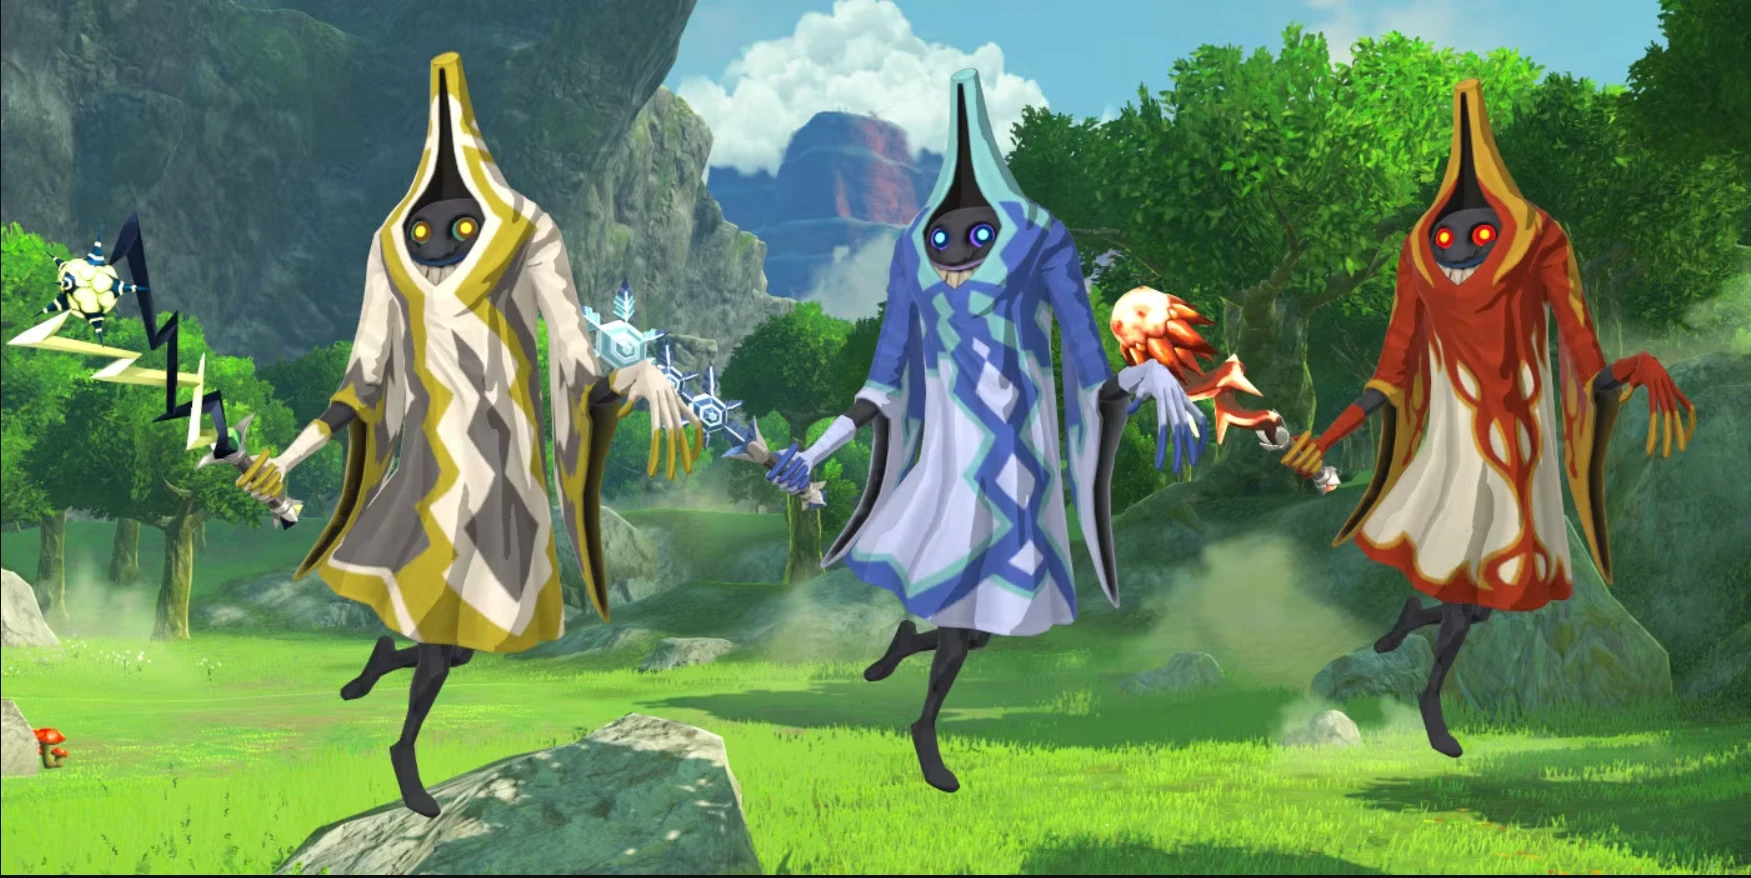
Location: Scattered across Hyrule—commonly found in Faron, Lanayru, and Hebra regions.
Abilities: Floats and teleports around. Can summon elemental weather or enemies (e.g., Fire Wizzrobes can summon Meteors and Fire Keese).
Tips for Battle
Beginner: Use the opposite element to shut them down quickly (ice for fire, fire for ice, arrows for electric). Stay mobile to avoid AoE spells.
Advanced: Time your arrows when they stop to cast a spell. They’re very fragile but love to kite—pin them down fast.
Expert: Use stealth to sneak up and get a one-shot strike from behind. Shock arrows can disable Electric Wizzrobes instantly.
Pro Move
Equip elemental resistance gear and bait their casting animation—then slow time midair with a bow to land a headshot for an instant takedown.
A great headset can make all the difference when battling Lynels, dodging Molduga ambushes, or tracking a stealthy Wizzrobe. With a SteelSeries headset like the Arctis Nova Pro, you’ll pick up every subtle audio cue—from enemy grunts to ambient danger sounds—giving you the edge in every fight.
Guardian Stalker
Location: Hyrule Field, Akkala Highlands, near ancient ruins and shrines.
Abilities: Long-range laser attacks with lock-on targeting, high mobility, and regenerating legs if not fully destroyed.
Tips for Battle
Beginner: Use terrain and buildings for cover. Equip a shield with Guardian resistance or use arrows to disable legs and slow them down.
Advanced: Use parry timing with a shield (especially a Guardian Shield) to reflect lasers. Ancient arrows or elemental weapons can quickly destroy their core.
Expert: Ride a horse or sand seal to stay mobile and snipe legs. Strip it of mobility, then rush the eye with a heavy weapon or Flurry Rush chains.
Pro Move
Equip the Ancient Set and use an Ancient Short Sword—this maximizes damage and gives you resistance for a full-frontal assault.
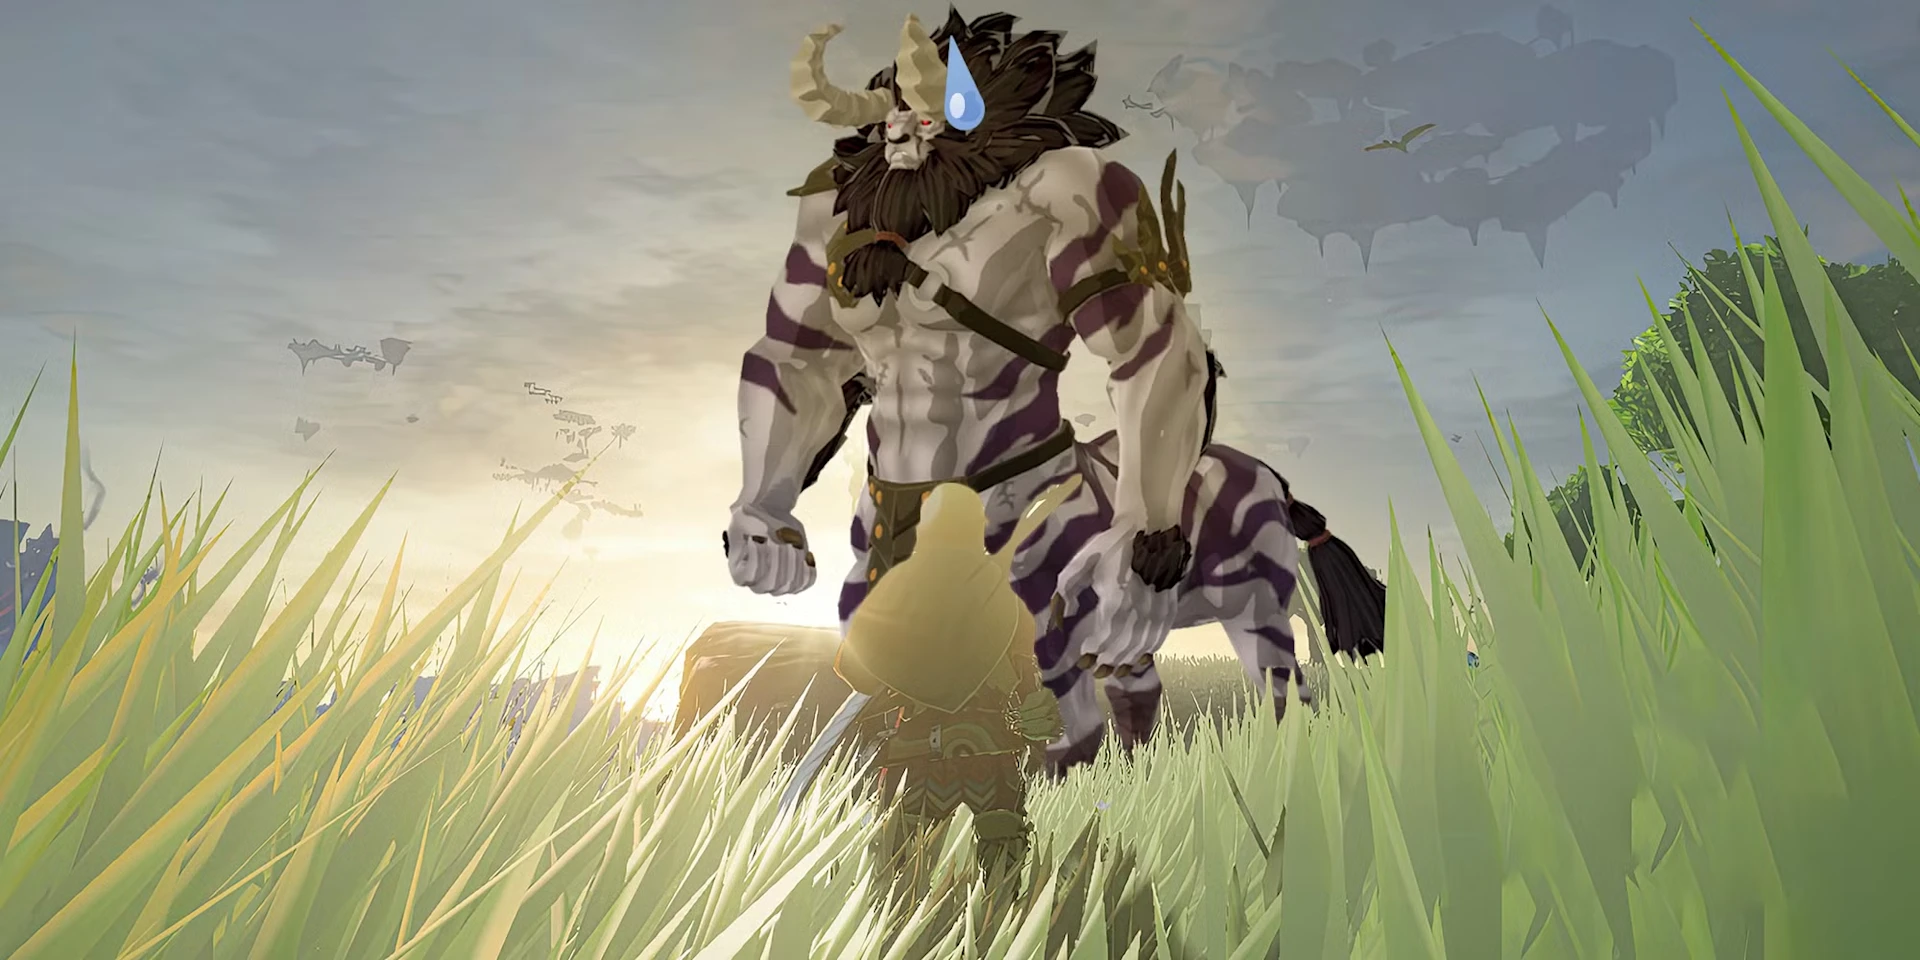
Thunderblight Ganon (Divine Beast Naboris)

Location: Boss of Divine Beast Naboris (Gerudo Region).
Abilities: Lightning-fast dashes, electrical attacks that disarm Link, summoned lightning rods.
Tips for Battle
Beginner: Equip rubber armor or eat shock-resistant food to avoid disarm. Dodge when it dashes, then counter with Flurry Rush.
Advanced: Use Magnesis to grab the metal spikes in Phase 2 and bring them near Thunderblight to stun him. This opens up huge damage windows.
Expert: Keep up pressure with fast, one-handed weapons. Use Urbosa’s Fury during Phase 3 to neutralize his speed advantage.
Pro Move
Right before Phase 2, drop your own metallic weapons in a trap pattern—then use Magnesis to spring a custom lightning ambush.
Igneo Talus

Location: Eldin Region—Death Mountain and surrounding lava zones.
Abilities: Massive fire-based rock golem, immune to melee when flaming, can launch Link with heat shock.
Tips for Battle
Beginner: Use Ice Arrows to cool it down temporarily and create a window to climb or attack the ore deposit on its back.
Advanced: Equip Flamebreaker Armor to resist fire damage. Throw bombs or use stasis to interrupt its lava splash attack.
Expert: Land an arrow directly on the ore spot while it’s active to knock it down quickly, then follow up with a two-handed weapon flurry.
Pro Move
Launch yourself from a lava vent or minecart ramp and land a slow-motion headshot midair—this both cools and stuns it for a perfect mount.
Gold Lynel (Master Mode Only)

Location: Hyrule Field and other high-level zones in Master Mode.
Abilities: High health and damage, regenerates health rapidly, uses all elemental arrows, terrifying AI aggression.
Tips for Battle
Beginner: Don’t. Unless you’re heavily upgraded with maxed armor and food buffs, approach with extreme caution.
Advanced: Use Stasis+ to interrupt its charge or roar. Flurry Rush is key—stay close, bait its melee combo, and dodge at the last second.
Expert: Parry its bow shots or mount it after a stun. Use two-handed weapons with Urbosa’s Fury to maximize burst before it regenerates.
Pro Move
Equip Barbarian Armor, eat an attack-boost meal, and ride in with a Lynel Crusher—just don’t miss your first hit or you’re toast.
Defending Hyrule
Mastering Hyrule’s toughest enemies is part of what makes Tears of the Kingdom and Breath of the Wild so rewarding. With the right tactics—and a bit of creativity—you can take down anything from a teleporting Wizzrobe to a three-headed Gleeok.
Now get out there, prep your inventory, and take on Hyrule's deadliest foes.
Zelda Enemies: FAQs
What’s the hardest enemy in Tears of the Kingdom?
Many players consider King Gleeok or Silver Lynels the toughest enemies in Tears of the Kingdom. King Gleeoks are massive three-headed dragons with elemental attacks, while Silver Lynels hit hard, move fast, and have huge health pools.
Are enemy types different in Tears of the Kingdom and Breath of the Wild?
Yes, Tears of the Kingdom introduces new enemies like Gleeoks, Frox, Flux Constructs, and Soldier Constructs, especially in the Sky and Depths regions. However, many enemies from Breath of the Wild—like Bokoblins, Moblins, and Lynels—return with updated behavior and gear.
Who is the main villain in Zelda?
The main villain in most Legend of Zelda games is Ganon, also known as Ganondorf—a powerful sorcerer and recurring threat to Hyrule. In Tears of the Kingdom, Ganondorf returns in a major role, posing one of the greatest threats Link has ever faced.
Wordsmith at SteelSeries. Enthusiastic about Dota 2 and fighting games. A cat dad.